Best Practice Tip: Almost always add a NOT statement to exclude all cancelled reservations from the Lodging Audience
General OTB Audiences:
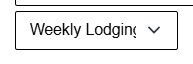
Bring in Date Field - most often Arrival date.

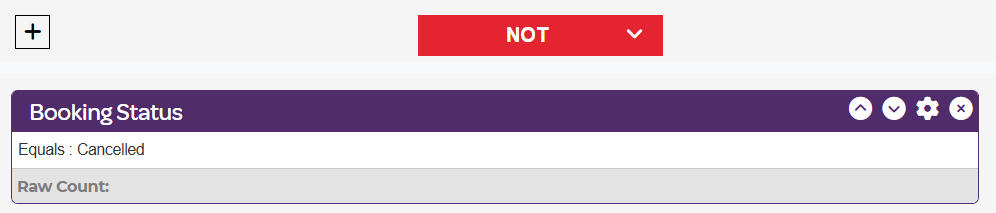
Suppress anyone who canceled their reservation by choosing Reservation Cancelled or Booking Status. Add one of these options to add to the audience. You do not need both. Make sure you add it with a NOT statement.
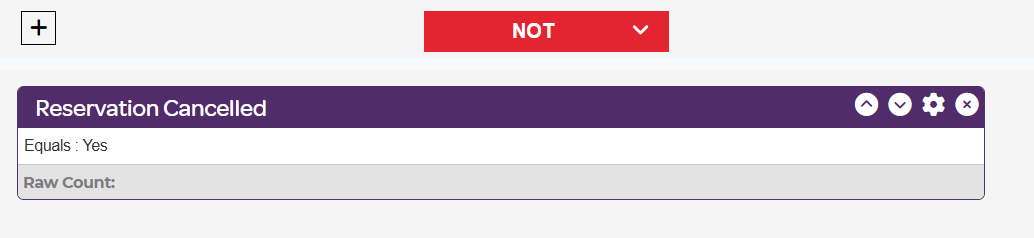
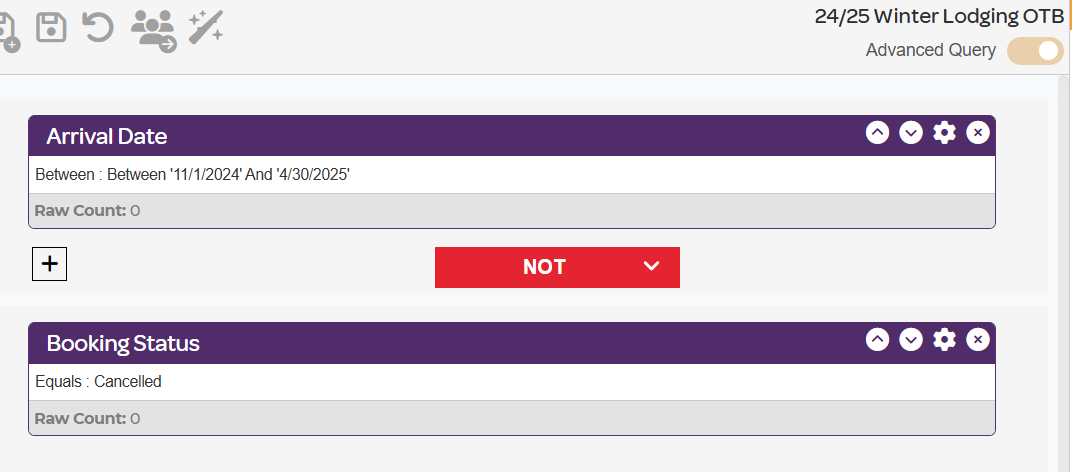
Final audience will look like this:


Lodging Pre-Arrivals:
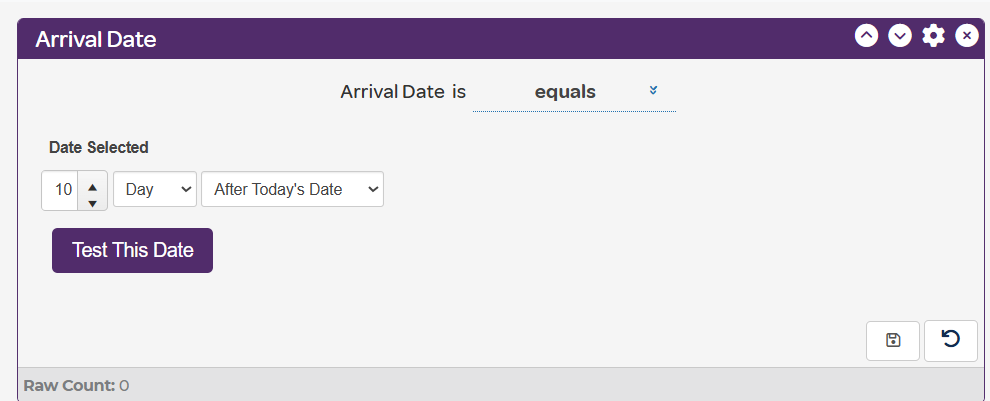
Bring in Arrival Date - make it dynamic by selecting the calculator button in the bottom right corner.
Select Equals in the top drop down.
Select After Today's Date in the middle drop down. Then type your desired date. You will likely want a few versions of this audience. Many brands do 45-Day or 30-Day Pre-Arrivals, and either a 7-Day or 3-Day or 1-Day Pre-Arrival. You will likely want a few versions of this audience.
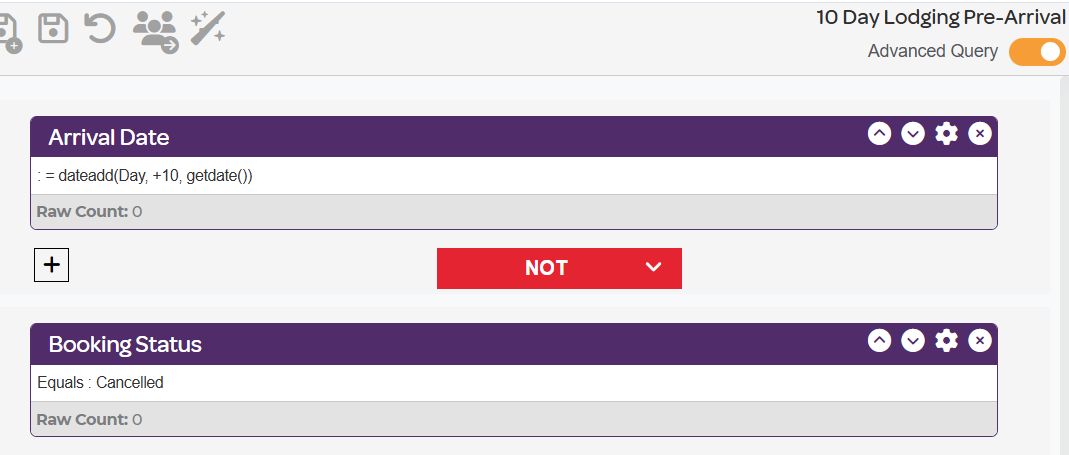
Lastly, suppress anyone who has cancelled their reservation by choosing Reservation Cancelled or Booking Status. Add one of these options to add to the audience. You do not need both. Make sure you add it with a NOT statement.
Your final audience will look something like this


Lodging Welcome Emails:
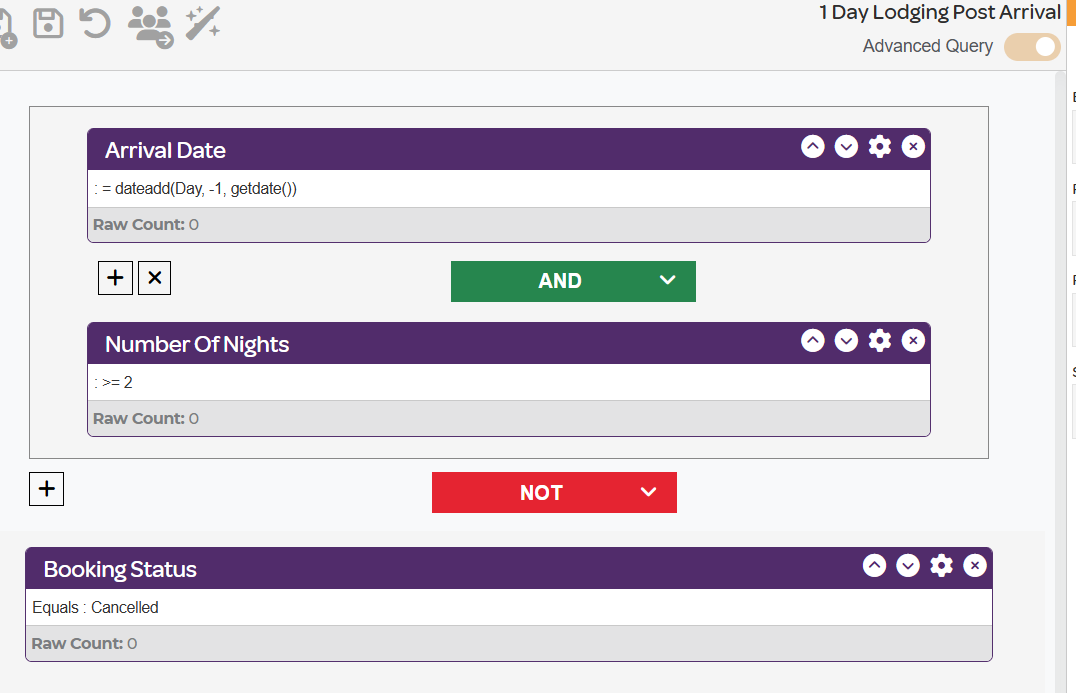
If you want to send an email to guests after they arrive as a welcome to the property you can build a 1 Day Lodging Post-Arrival Audience. This is ideal for guests who have booked more than one night at your property.
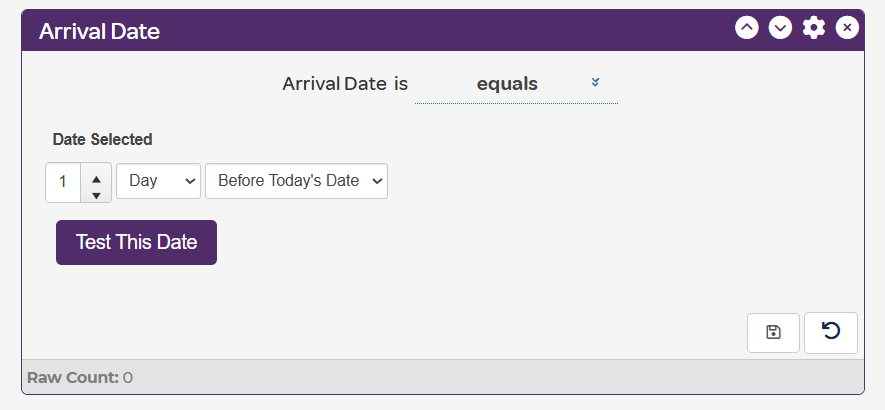
Bring in Arrival Date - make it dynamic by selecting the calculator button in the bottom right corner.
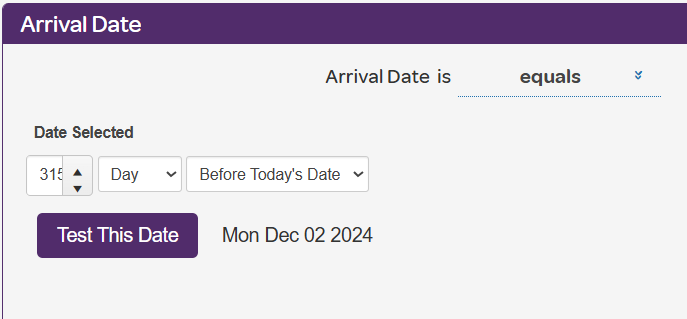
Select Equals in the top drop down.
Select Before Today's Date in the middle drop down. Select 1 Day.
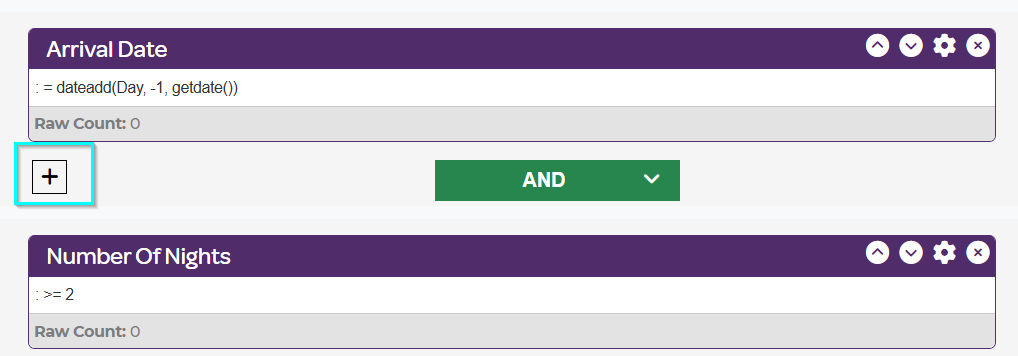
Bring in Number of Nights.
Select Greater than or Equal to in the top drop down. Then type 2 in the box.

Go to the top right corner of the audience builder and toggle on Advanced Query.

Then click the + button in between Arrival Date and Number of Nights. Make sure the statement between them is still AND in green.
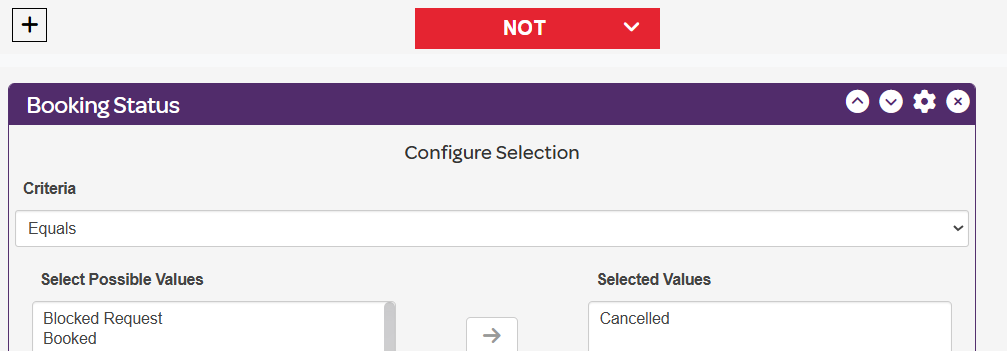
Next bring in Booking Status to suppress all cancelations. Change the Statement to NOT in red. Select Cancelled as the booking status.
The final audience will look like this:


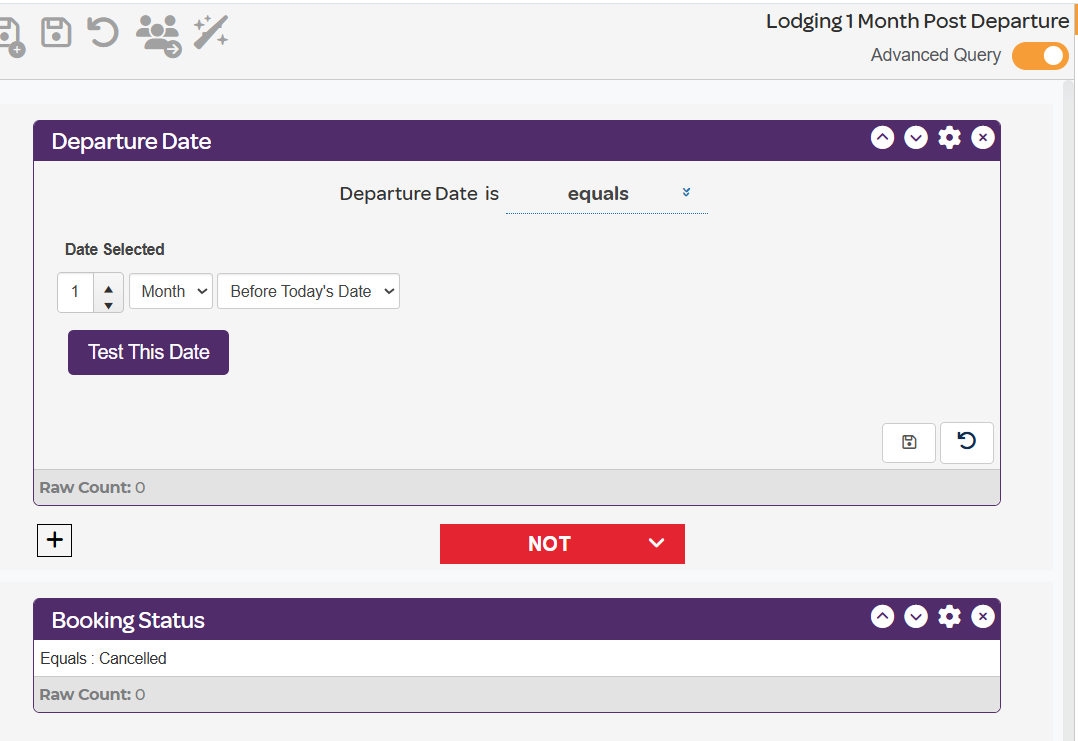
Lodging Post-Departures:
Bring in Departure Date - make it dynamic by selecting the calculator button in the bottom right corner.
Select Equals in the top drop down.
Select Before Today's Date in the middle drop down.
Decide how long after checkout you want to send a follow up. Likely, two versions of this audience. One for the day after checkout, one for a month later etc.

Lodging Anniversary Reminder:
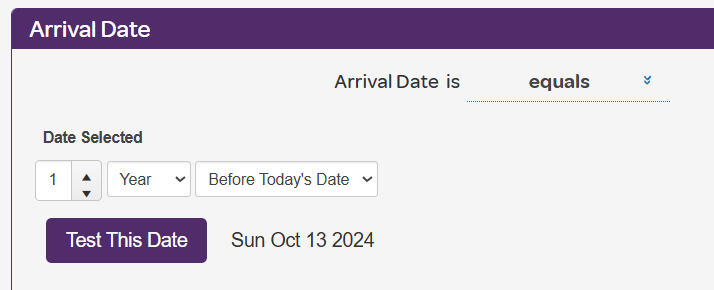
Bring in Arrival Date - make it dynamic by selecting the calculator button in the bottom right corner.
Select Equals from the top drop down.
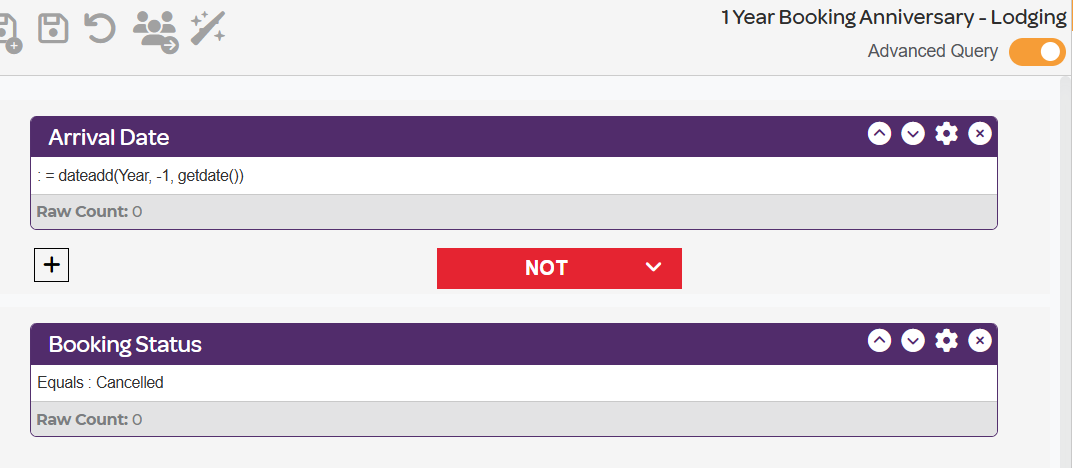
Select Before Today's Date in the middle drop down. Then type in your desired date. Some brands send it exactly 1 year later from their arrival date, others choose to send it a month or two ahead of their last arrival date giving the customer time to book in advance of their actual lodging anniversary. Both options shown below:
Suppress anyone who canceled their reservation by choosing Reservation Cancelled or Booking Status. Add one of these options to add to the audience. You do not need both. Make sure you add it with a NOT statement.
The final audience will look like this:


Next week's bookings:
Plus, how to export an audience for internal use, like calling guests in advance of arriving.
Bring in Arrival Date - make it dynamic by selecting the calculator button in the bottom right corner.
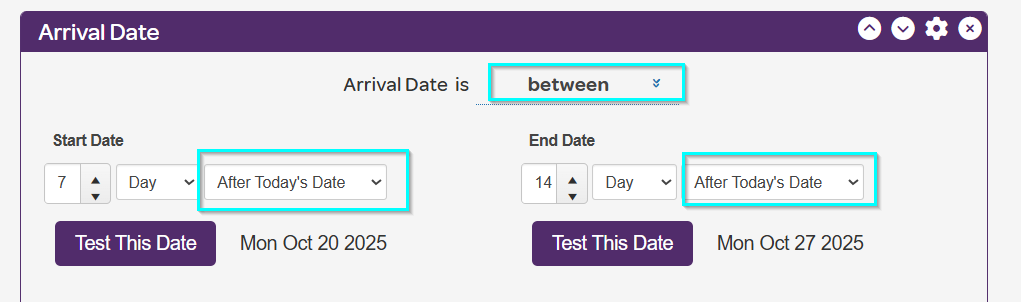
Select Between in the top drop down.
Select After Today's Date in the middle drop down.
Make the Start Date 7 Days After Today's Date and the End Date 14 Days After Today's Date
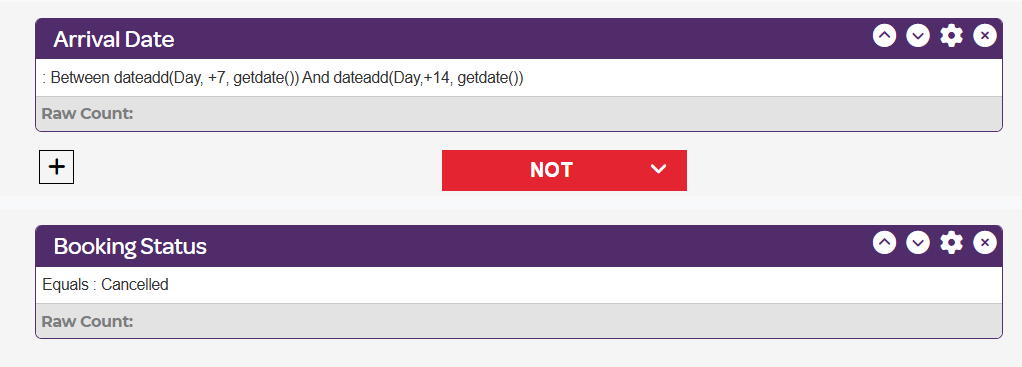
Suppress anyone who canceled their reservation by choosing Reservation Cancelled or Booking Status. Add one of these options to add to the audience. You do not need both. Make sure you add it with a NOT statement.
The final audience will look like this:
If you need to share this audience with any internal teams, you can export it by selecting this image in audeicne builder:

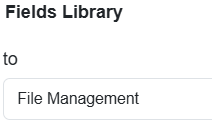
Export to: File Management:
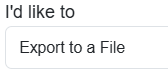
I'd like to Export to a File:
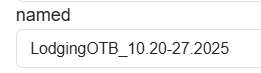
Name it as you'd like:
Select your folder:

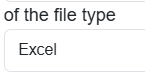
File Type: Excel
Then Edit you Output Fields:
Move over any fields you need.
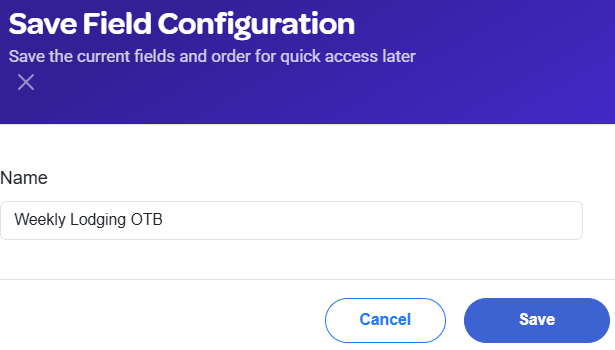
Since this is a file you will likely export frequently and will want the same fields everytime, you can save the fields by selecting this:
Then name it
The next time you go to export this audience, you can then select that order of fields to export: