All emails designed in our email designer automatically generate a standard opt-out (unsubscribe) form appended below the footer upon an email send. However, if you would like to direct customers to a customized opt-out form rather than use the auto-generated form, please follow the steps below:
Building an Unsubscribe Form
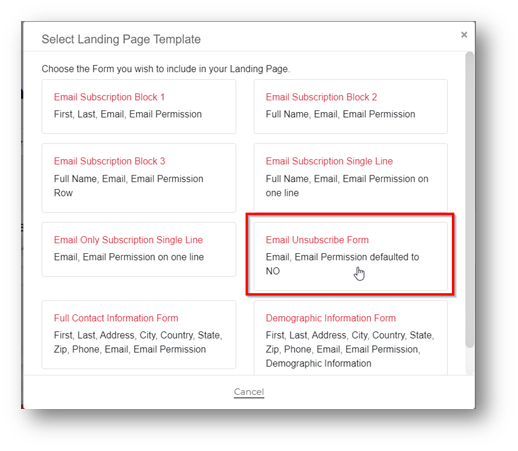
Landing Pages > All Landing pages
- Please refer to Ascent360 Landing Page Builder Overview for any questions related to creating a form.
- Select “Email Unsubscribe Form” as the template for this landing page.
- Once the form is built and published, follow the steps below to add the form to an email design.

Adding an Unsubscribe Form Link to an Email Design
Emails > All Designs or New Template
- On the email building canvas, select "Rows" on the right side.
- In the drop-down menu where it says "Empty", expand the drop-down options and select "Unsubscribe".
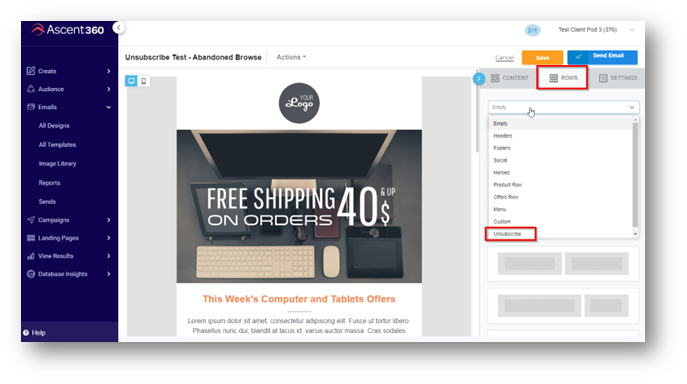
- The available unsubscribe form(s) created in the platform will show in the preview screen on the right.

- Click on the preview text (from the right-hand panel) and drag it to the bottom of the email. This is where the opt-out should be located.


Important: Styles in this row can be changed but do not make any edits to the "click here" URL hyperlink.
- When the email is sent, the click here to unsubscribe will direct the end user to the form and pre-fill the form with the recipient's email address. This will only happen on a live send and will not show in the test version of the email.
Note: You will have to make this adjustment on every email unless you save your design as a template. (We recommend saving it as a template).
Considerations
- To successfully replace the default Unsubscribe opt-out link, the inserted form must be a Form Type: Unsubscribe. This is indicated on the form tile in the Landing Pages library.
 The Unsubscribe row must exist as its own row in the email. Do not copy and paste the Unsubscribe text into another row with other content blocks.
 The Unsubscribe row must exist as its own row in the email. Do not copy and paste the Unsubscribe text into another row with other content blocks.