Dynamic Content, also referred to as "Display Conditions", gives you the ability to build a single email and show or not show specific content sections based on certain criteria. For example, you can display a different picture to males versus females. The criteria, therefore, is based on "gender" data on file. Another example is displaying a specific paragraph to customers that have a New York state address.
How to Add Display Conditions
Follow these steps to utilize Display Conditions in a new or existing email design.
- From an email design select an existing row or add a new row. Display conditions are applied to entire rows, not individual content blocks.
- Make sure the row menu is selected on the righthand side.
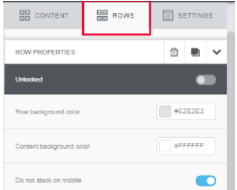

- In the rows menu, select Manage Display Conditions.

- In the pop-up window, name your Display Condition and Add a Description
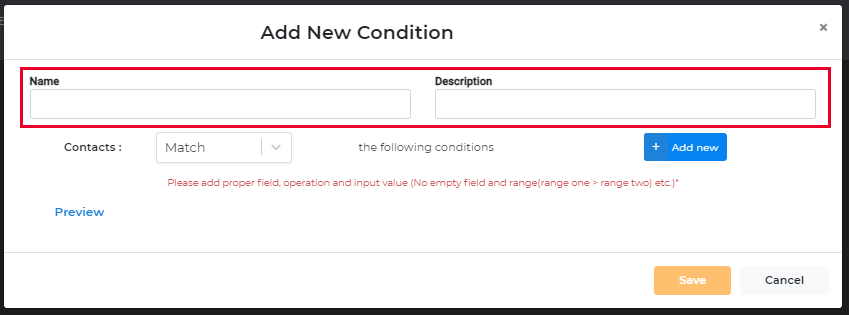

- To add parameters to your condition, click Add new

- Once you select Add new, you will see two boxes appear, use the left box to select the field you’d like to build your condition off of.

- You can scroll to find your field, or type it in to search the list.

- Select your field to use in the condition.
- Then select the operator you’d like to use. Operators vary by type of field, so for example, text fields will present one set of operators, dates will present a different set, and numbers will present their own set. This is similar to Audience Selector.

- Next you’ll select the value that you’d like to use for the condition.

- Now you have the option to add another condition or Save your condition as is. You can add up to 3 conditions.
- If you add another condition, you have the option to remove it by selecting the Red icon to the right.
- Once you save your condition, you’ll be returned to the email design.
- Now you will see the condition that is applied to the row on the righthand Rows menu.

- If you click Manage Display Conditions, you can edit this existing Condition.
- If you’d like to remove the condition, you can simply click the X and it will remove the condition from that row.

Previewing Display Conditions
In Email Designer, you can preview what the email will look like with specific conditions met.
- Enter Preview Mode for the email by selecting Preview from the Actions Menu in the upper portion of the designer.

- Once you are in preview mode, you can select “select row display conditions”
- From there you can toggle the conditions on and off to see how the email will render for customers that do or do not meet the selected conditions.

When sending a test email with display conditions, you will see all display conditions with some additional code to differentiate each section. This is expected and will not show on the live send. The additional code may look like this: %['24-25 CHILD SEASON PASS','24-25 CHILD PASS RENEW'].includes('Item Description') %}
